Initialization
The companion widget inside the iframe now requires initialization, which could be done using the methodinitializeAssistant provided by the CompanionWidget library, loaded alongside the integration script.
Before running the initialization method, the iframe should be added to the DOM, loaded properly, and ready for receiving the data. The iframe fires the event “companion-iframe-loaded” when properly loaded.
Initial data should be an empty object or contain variables as keys to match the prompt variables.
Example of how to initialize the Companion widget with data on the iframe loads:
CompanionWidget.initializeAssistant could be called at any time later to provide fresh data to the companion.
Customization
Appearance
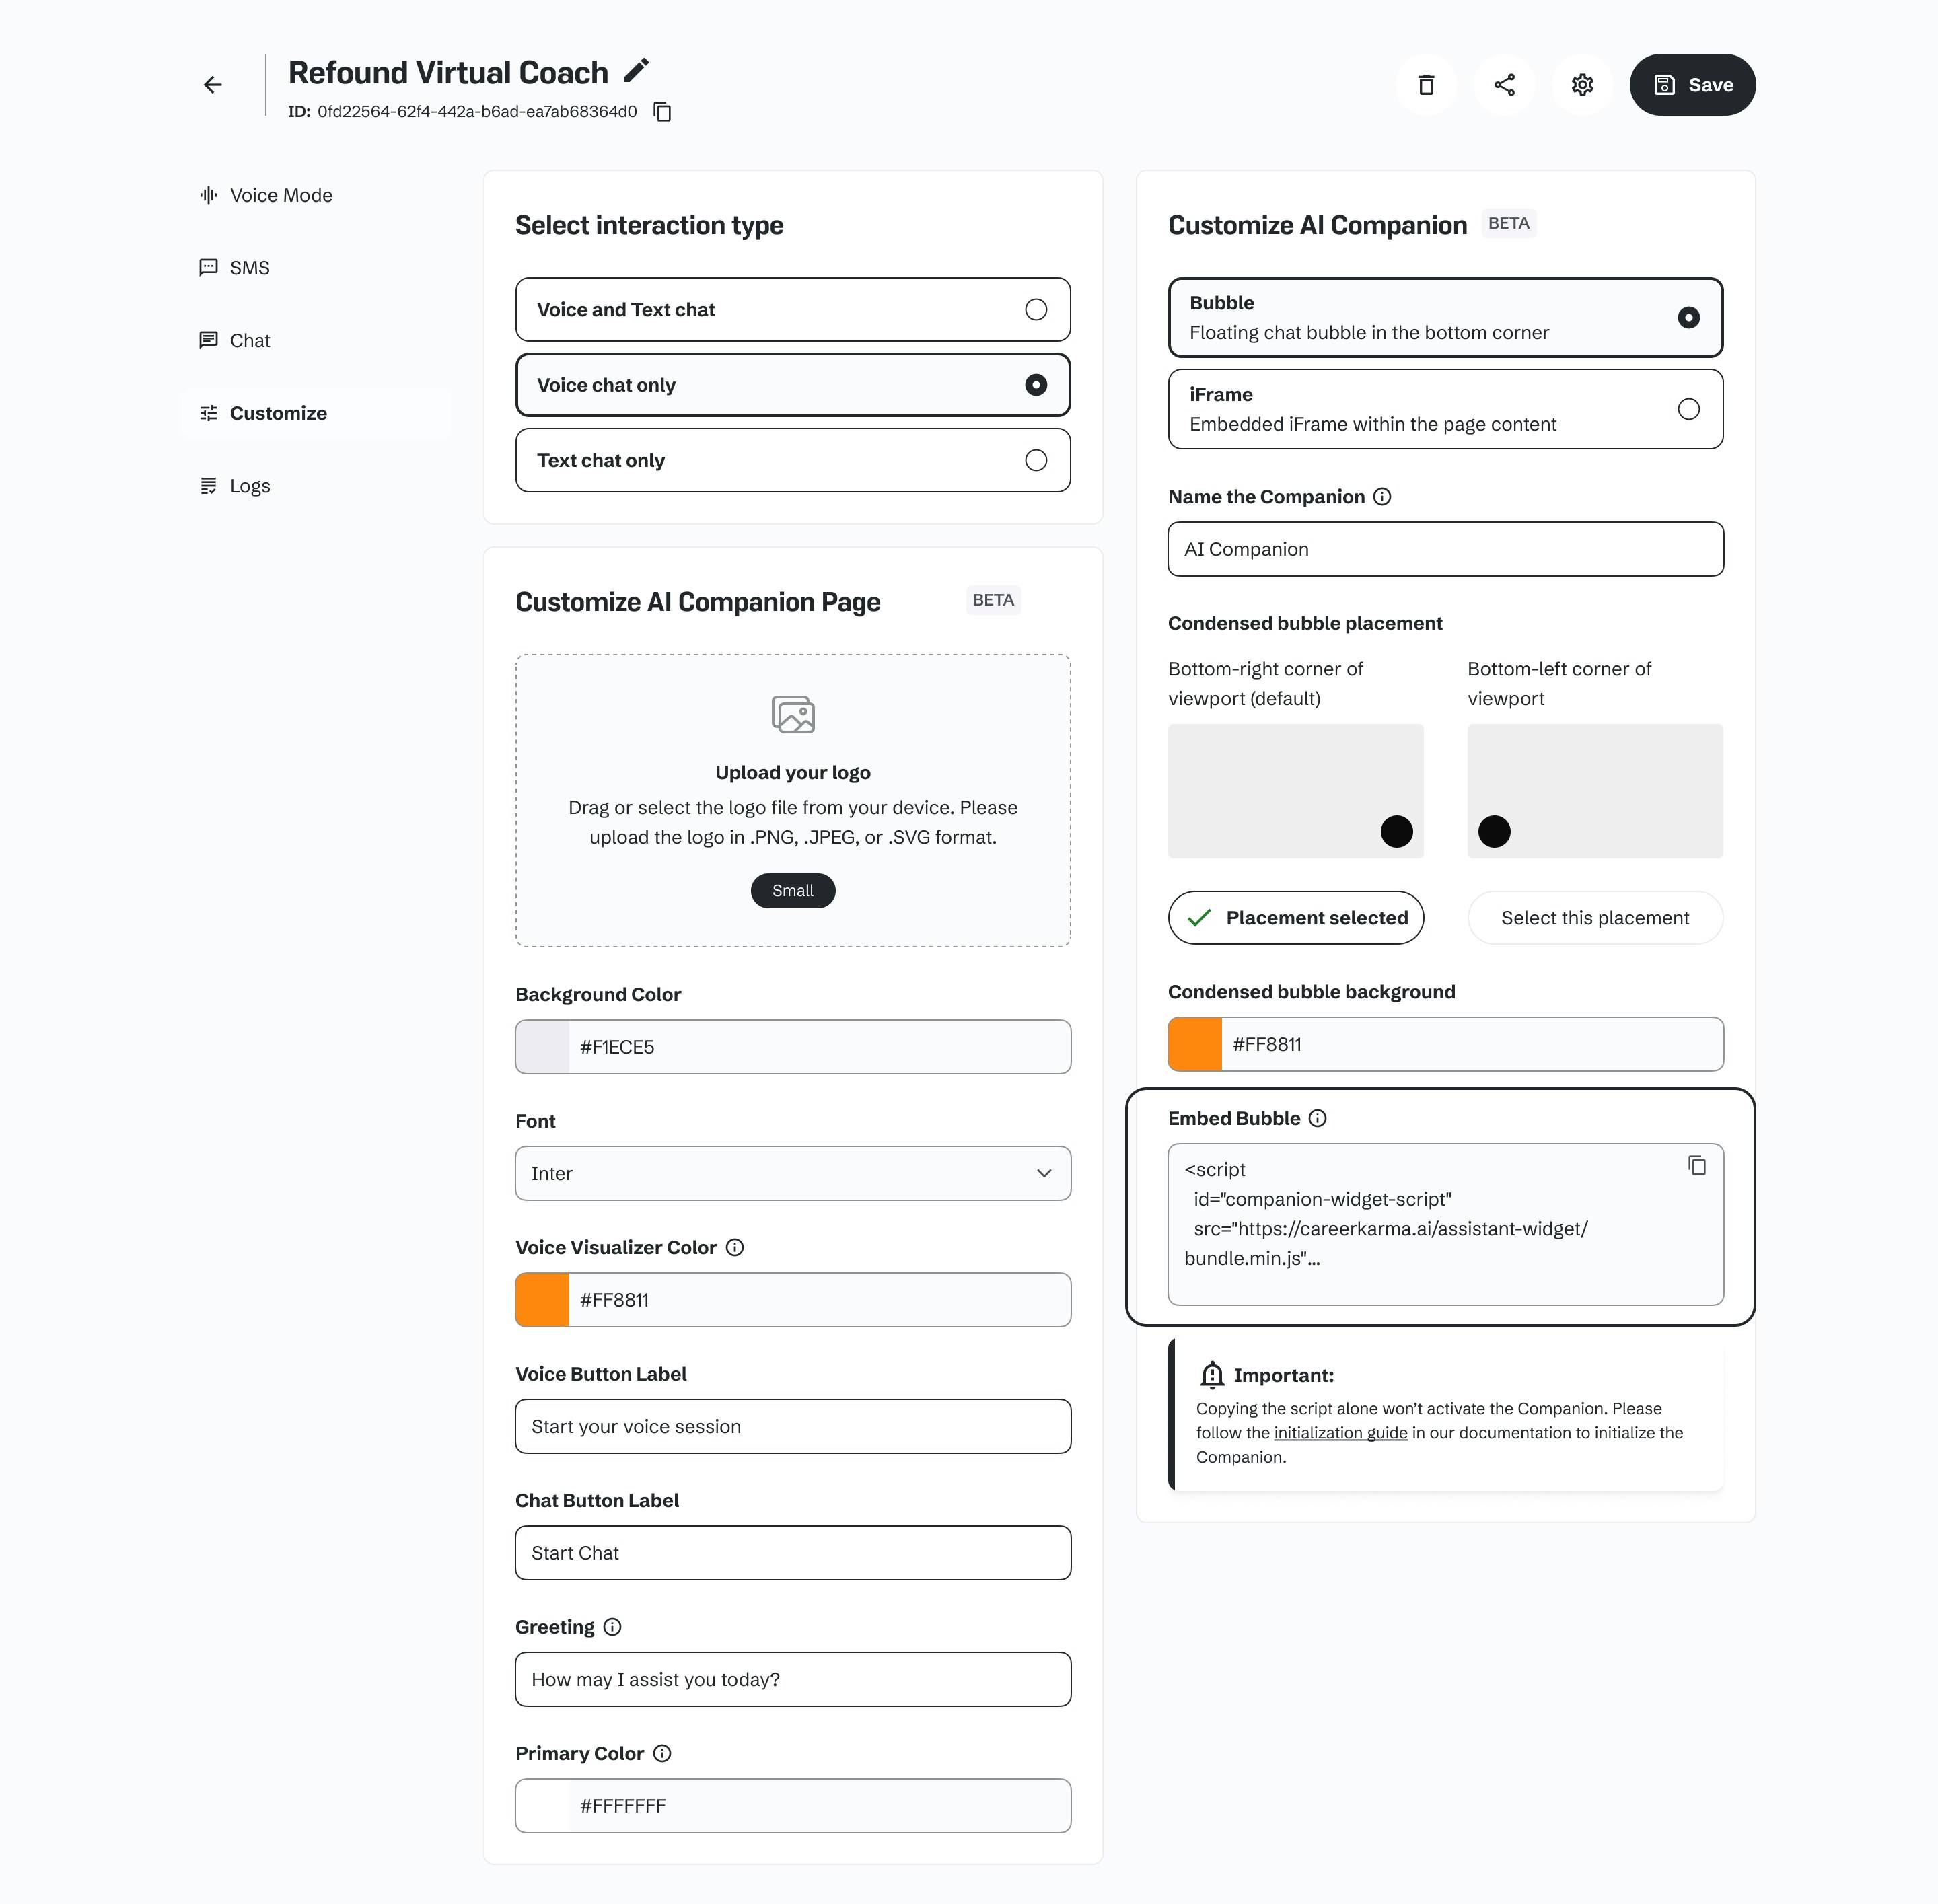
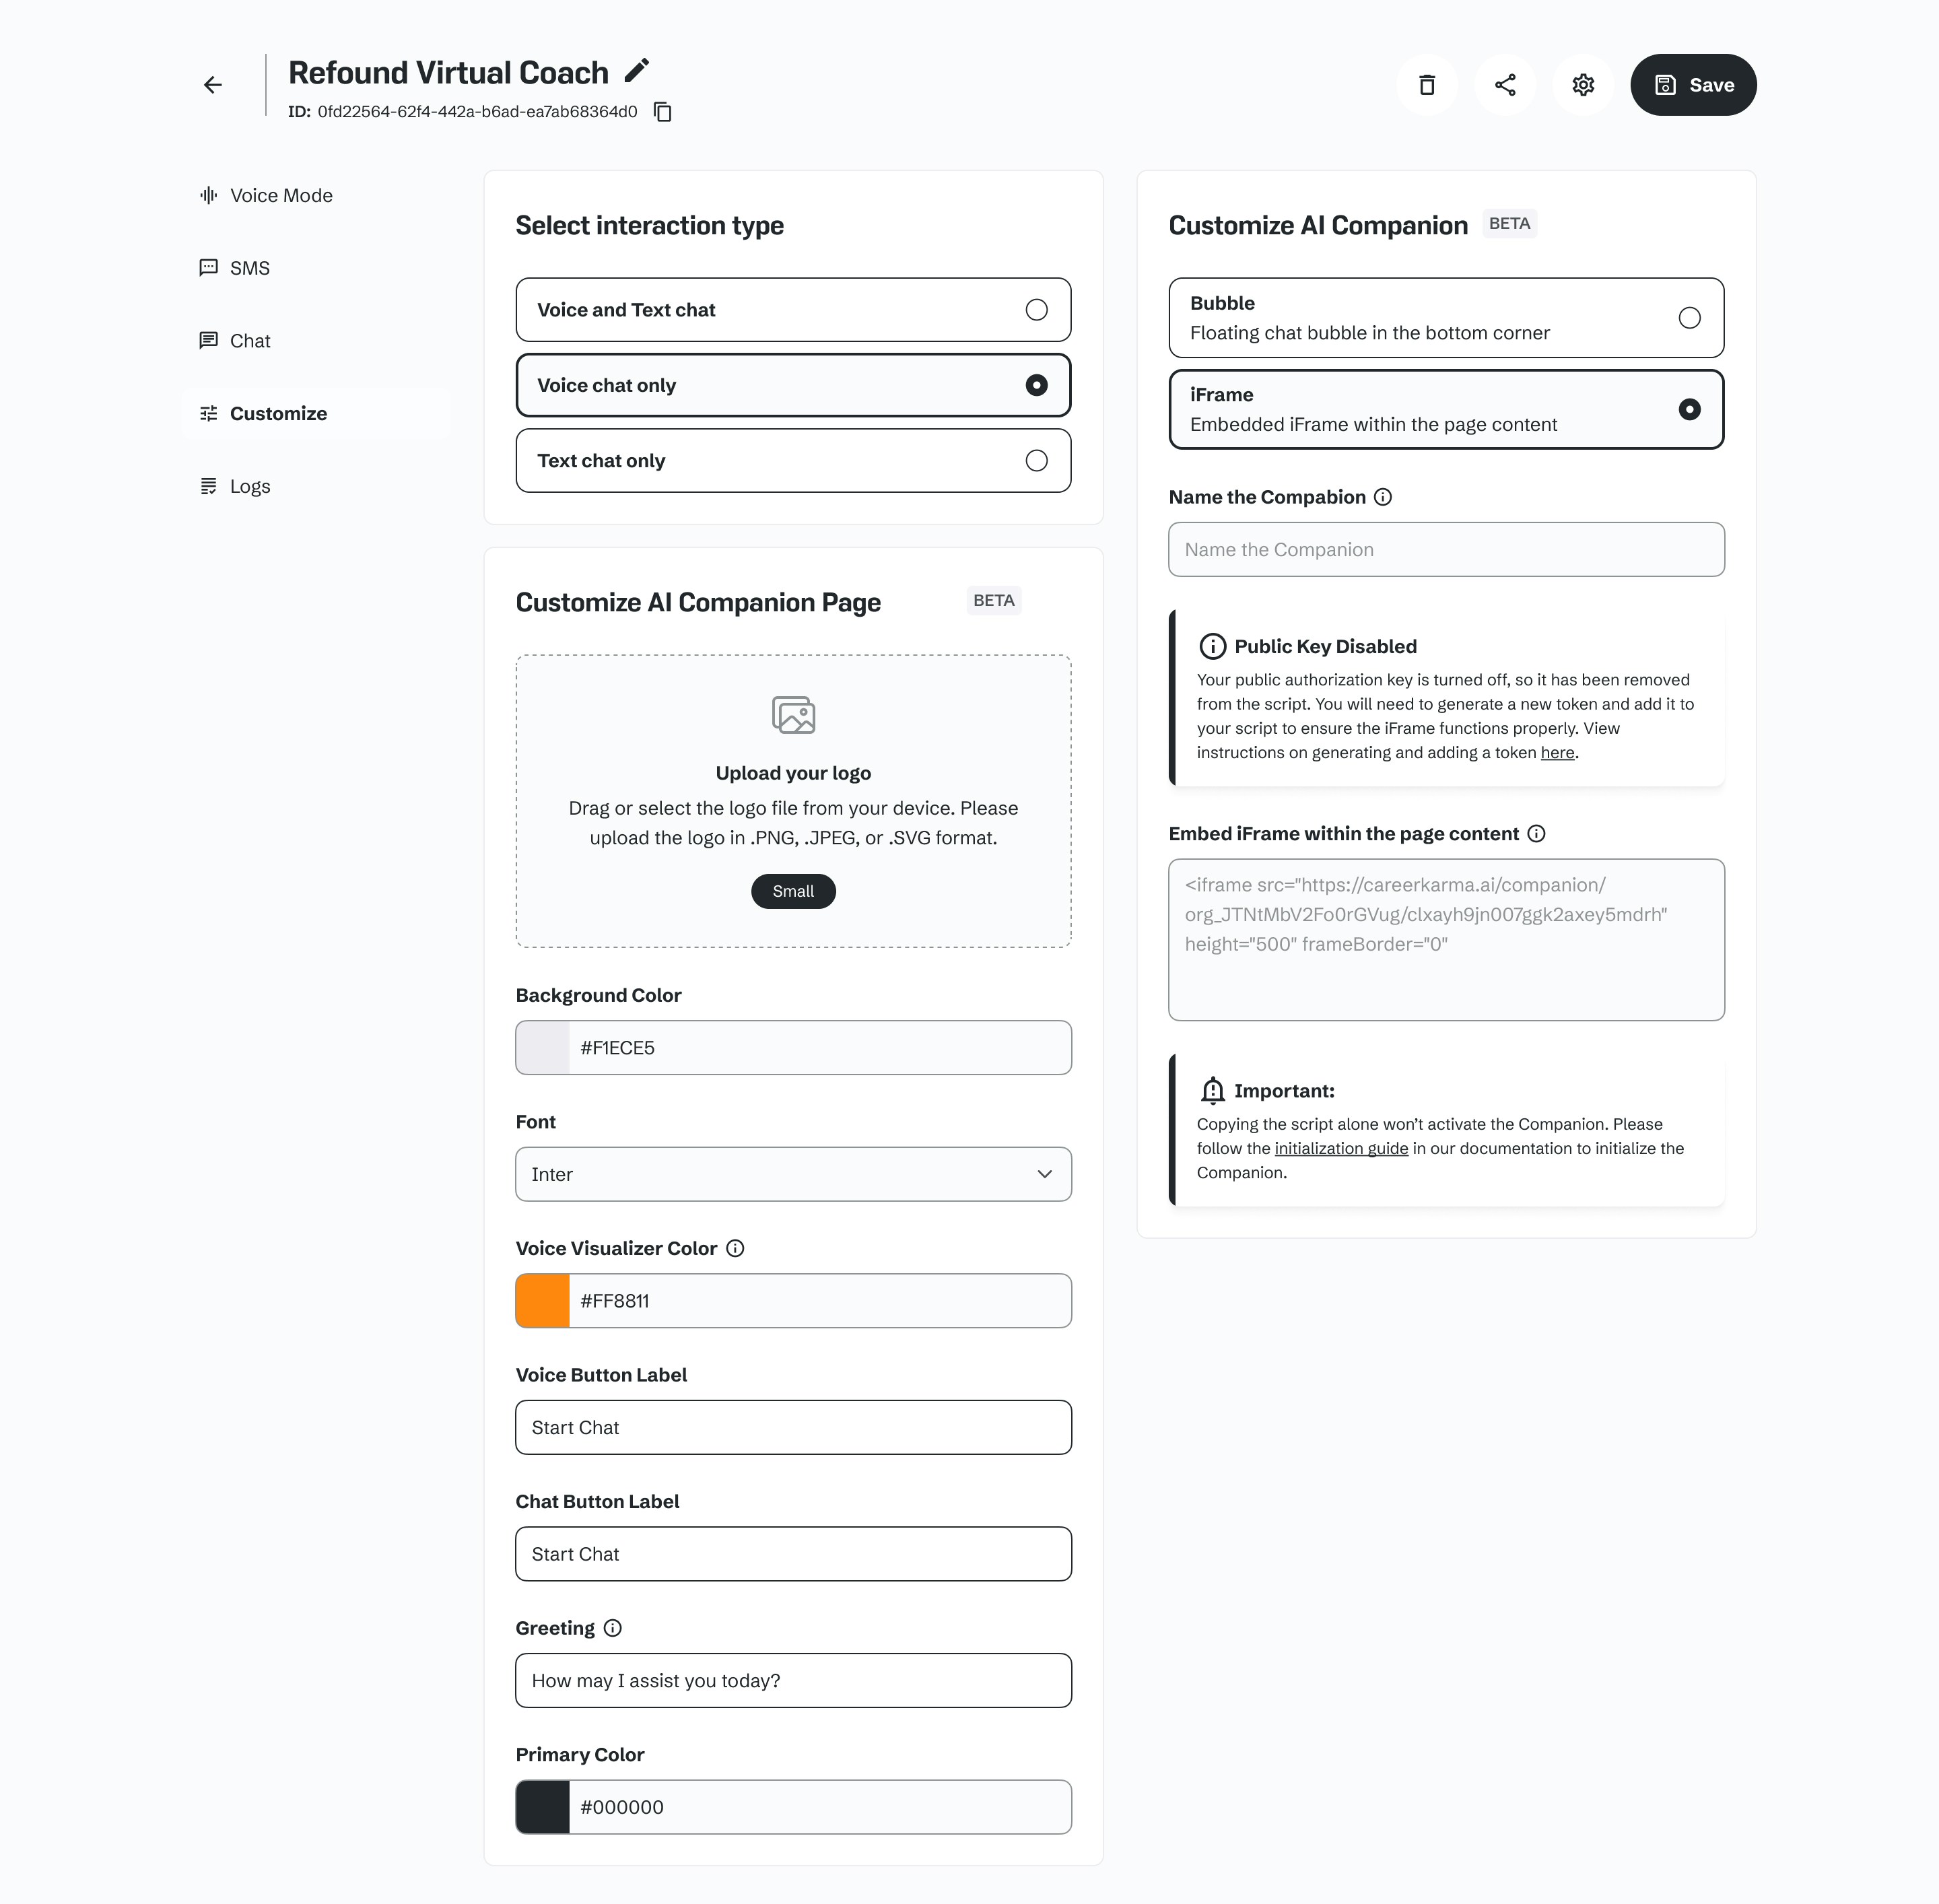
There are two appearance types of the widget:bubble (default) and iframe.
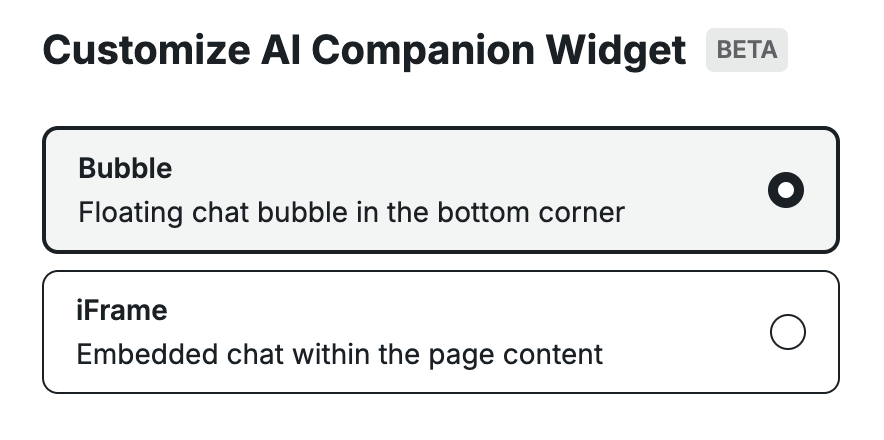
bubble mode script will create a widget button that expands into the modal window with a companion iframe.
In the iframe mode it will embed an <iframe> into the DOM element with an ID specified in the Container ID property:
Advanced settings
Widget integration supports anonymous voice communication out-of-the-box. But we support few advanced settings to extend this. To make chat more personal for users so Companion will remember some facts about user and previous interaction context you can providedata-unique-id so we can identify different end users, save some data and use it in future interaction. Value of this param can be any unique string less than 30 characters.
Function calls
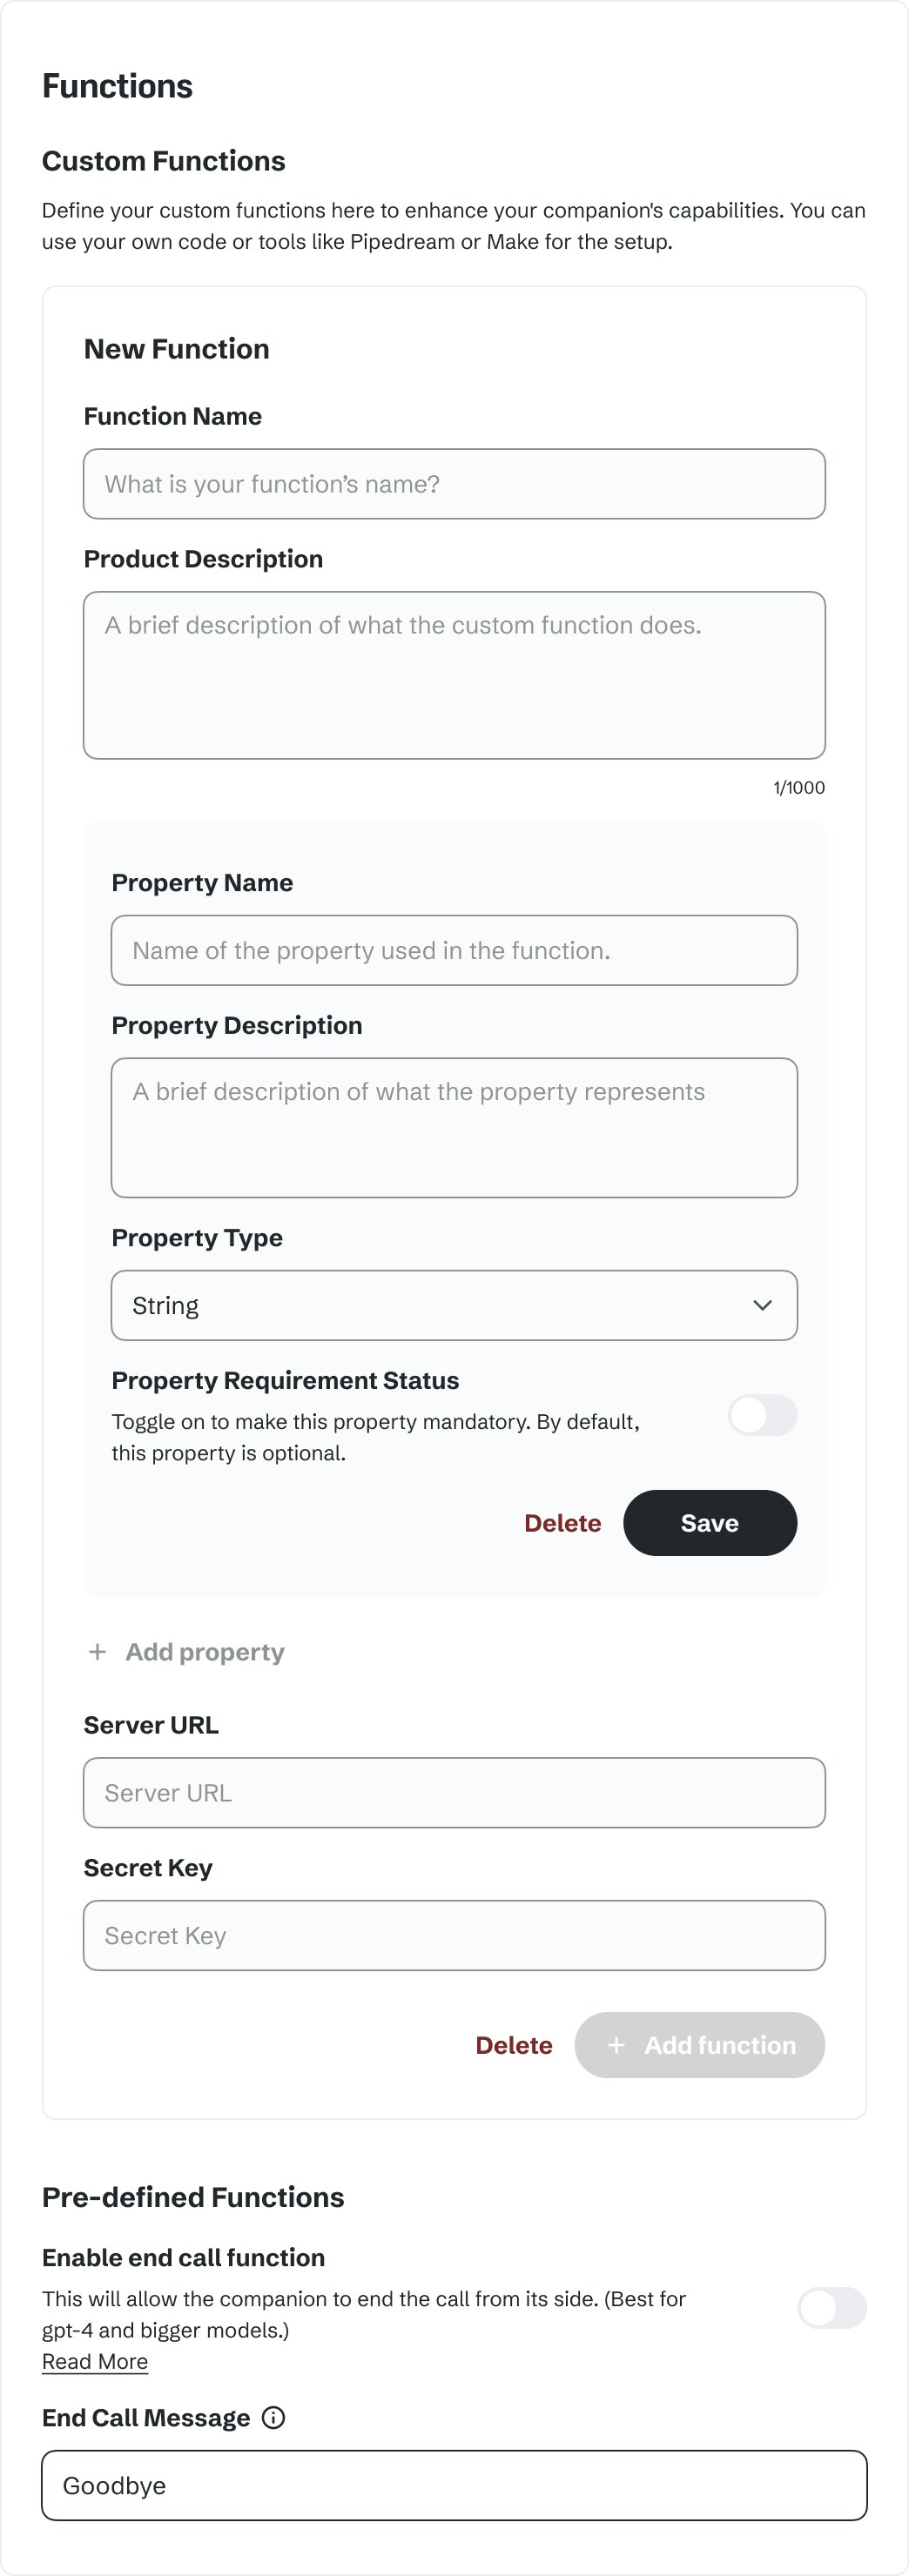
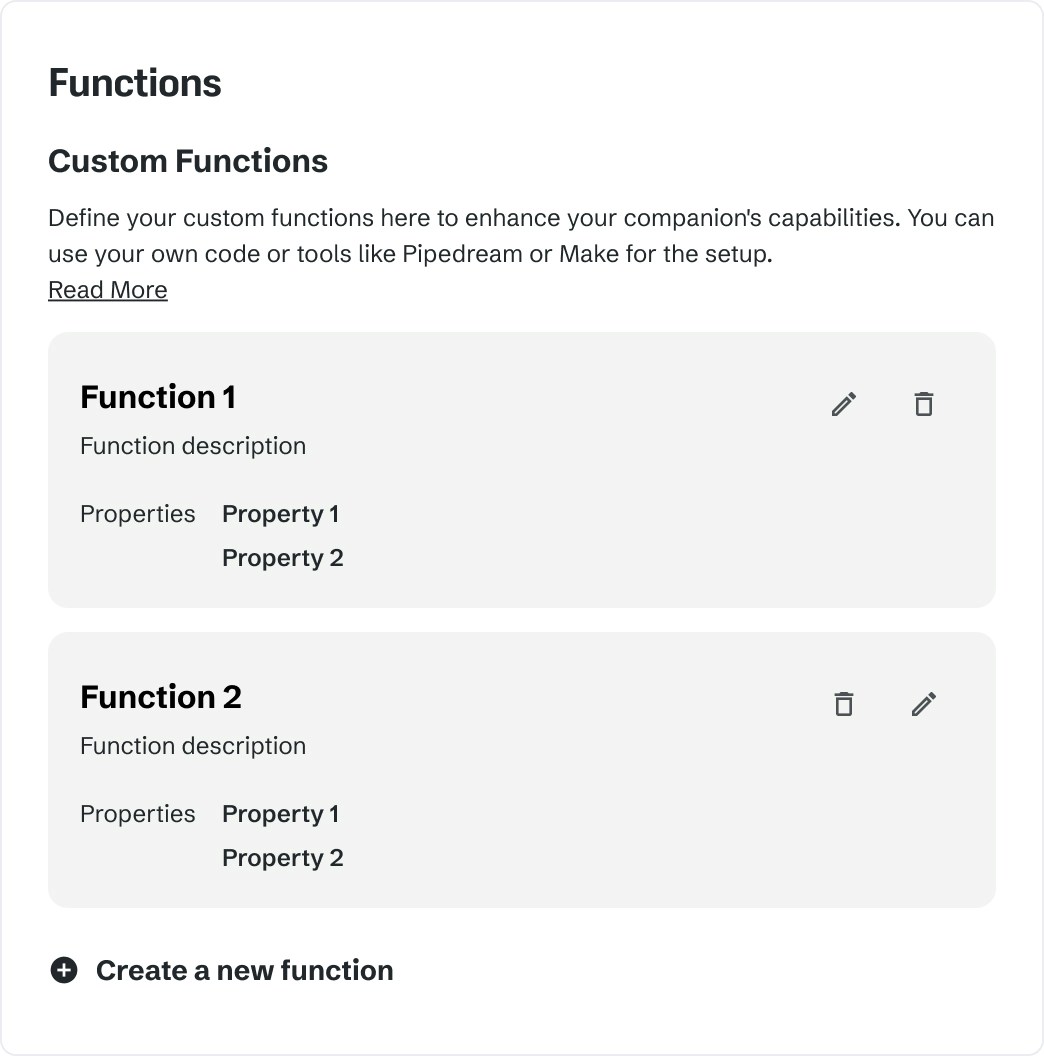
Expand your companion’s abilities by creating custom functions in the builder.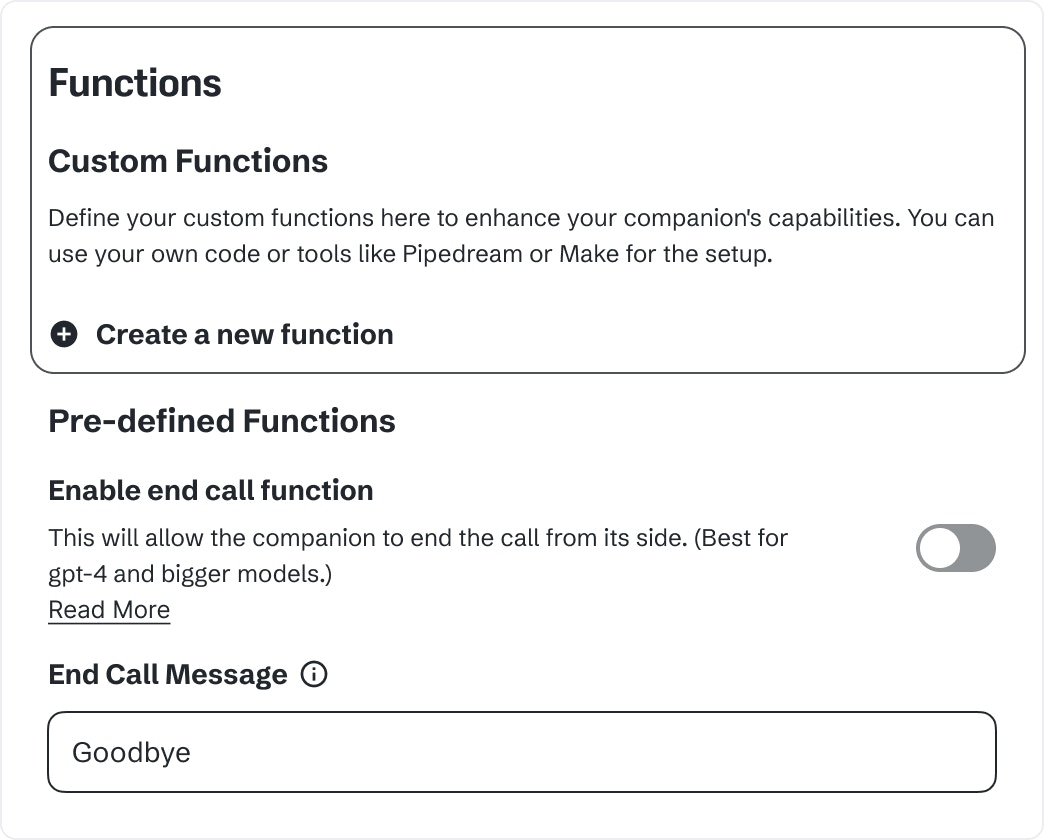
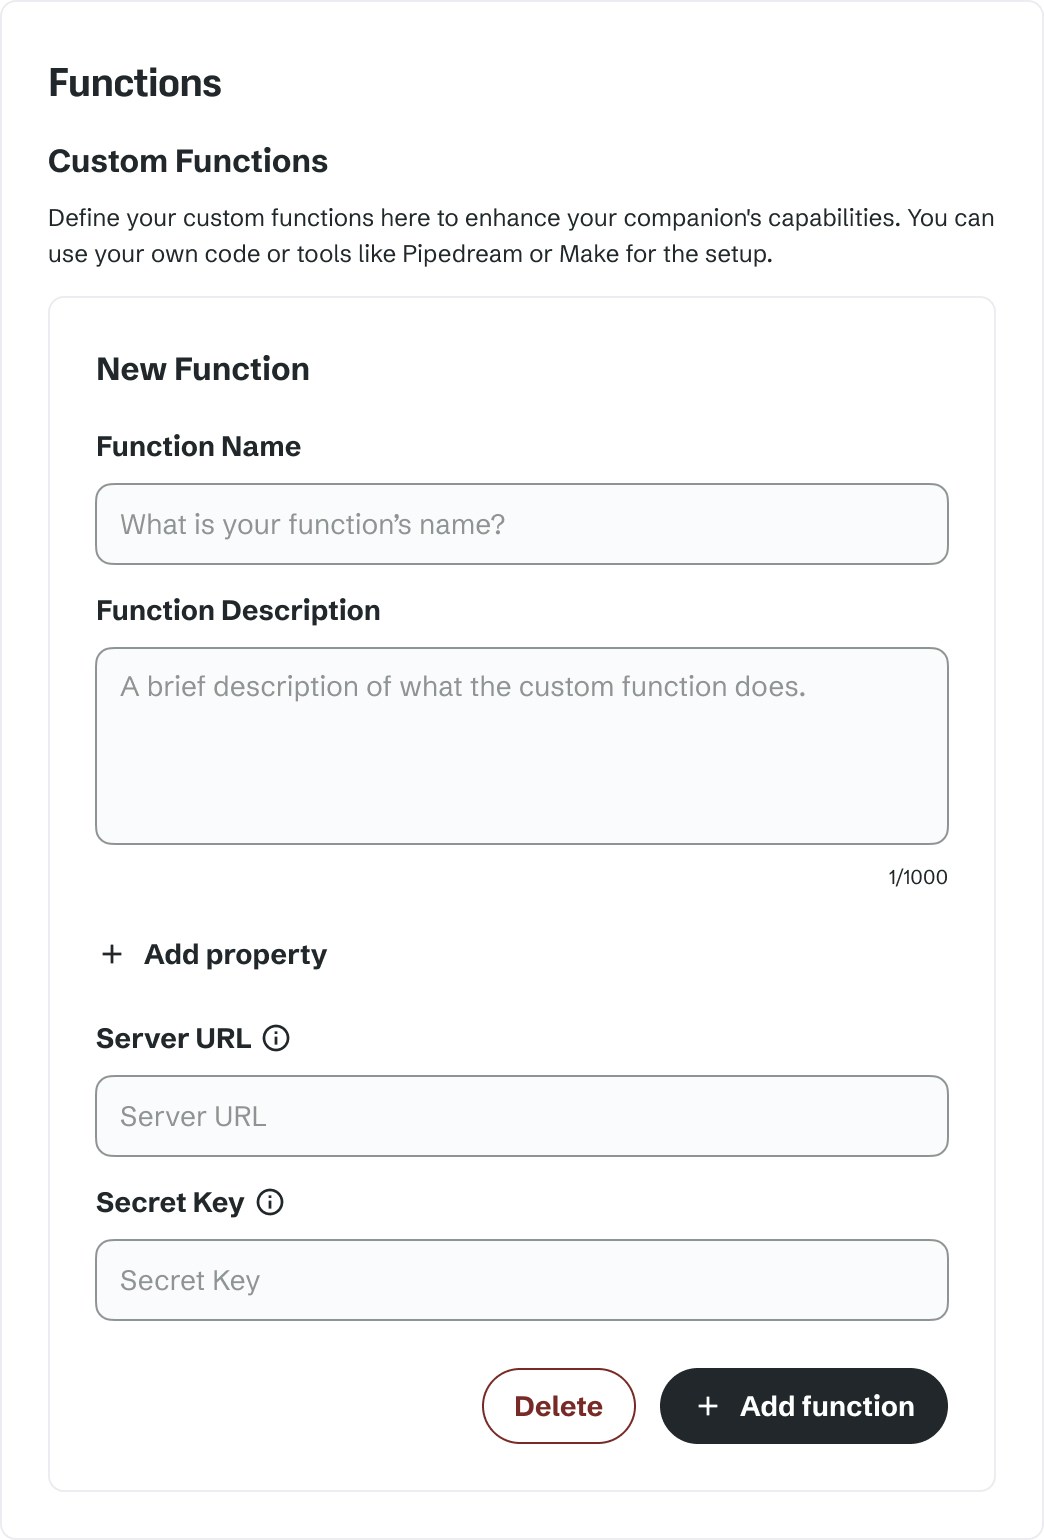
Configure Server URI
You can also configure the server URI to receive the function call results on your server via an HTTP request. This configuration expands your companion’s capabilities and provides a richer, more interactive user experience.Providing results and context using server URI is working out of the box for
text and SMS modes.
For the voice mode, you should enable RAG option in the configuration
settings. Without this option, the server’s response will not be included in
the voice call.
- Server URI: This is the endpoint where we’ll send a HTTP POST request with the function call results.
- Secret Key: We’ll include this key in the request headers(
"x-ck": <Secret Key>), allowing you to verify that the incoming requests are genuinely from our API.
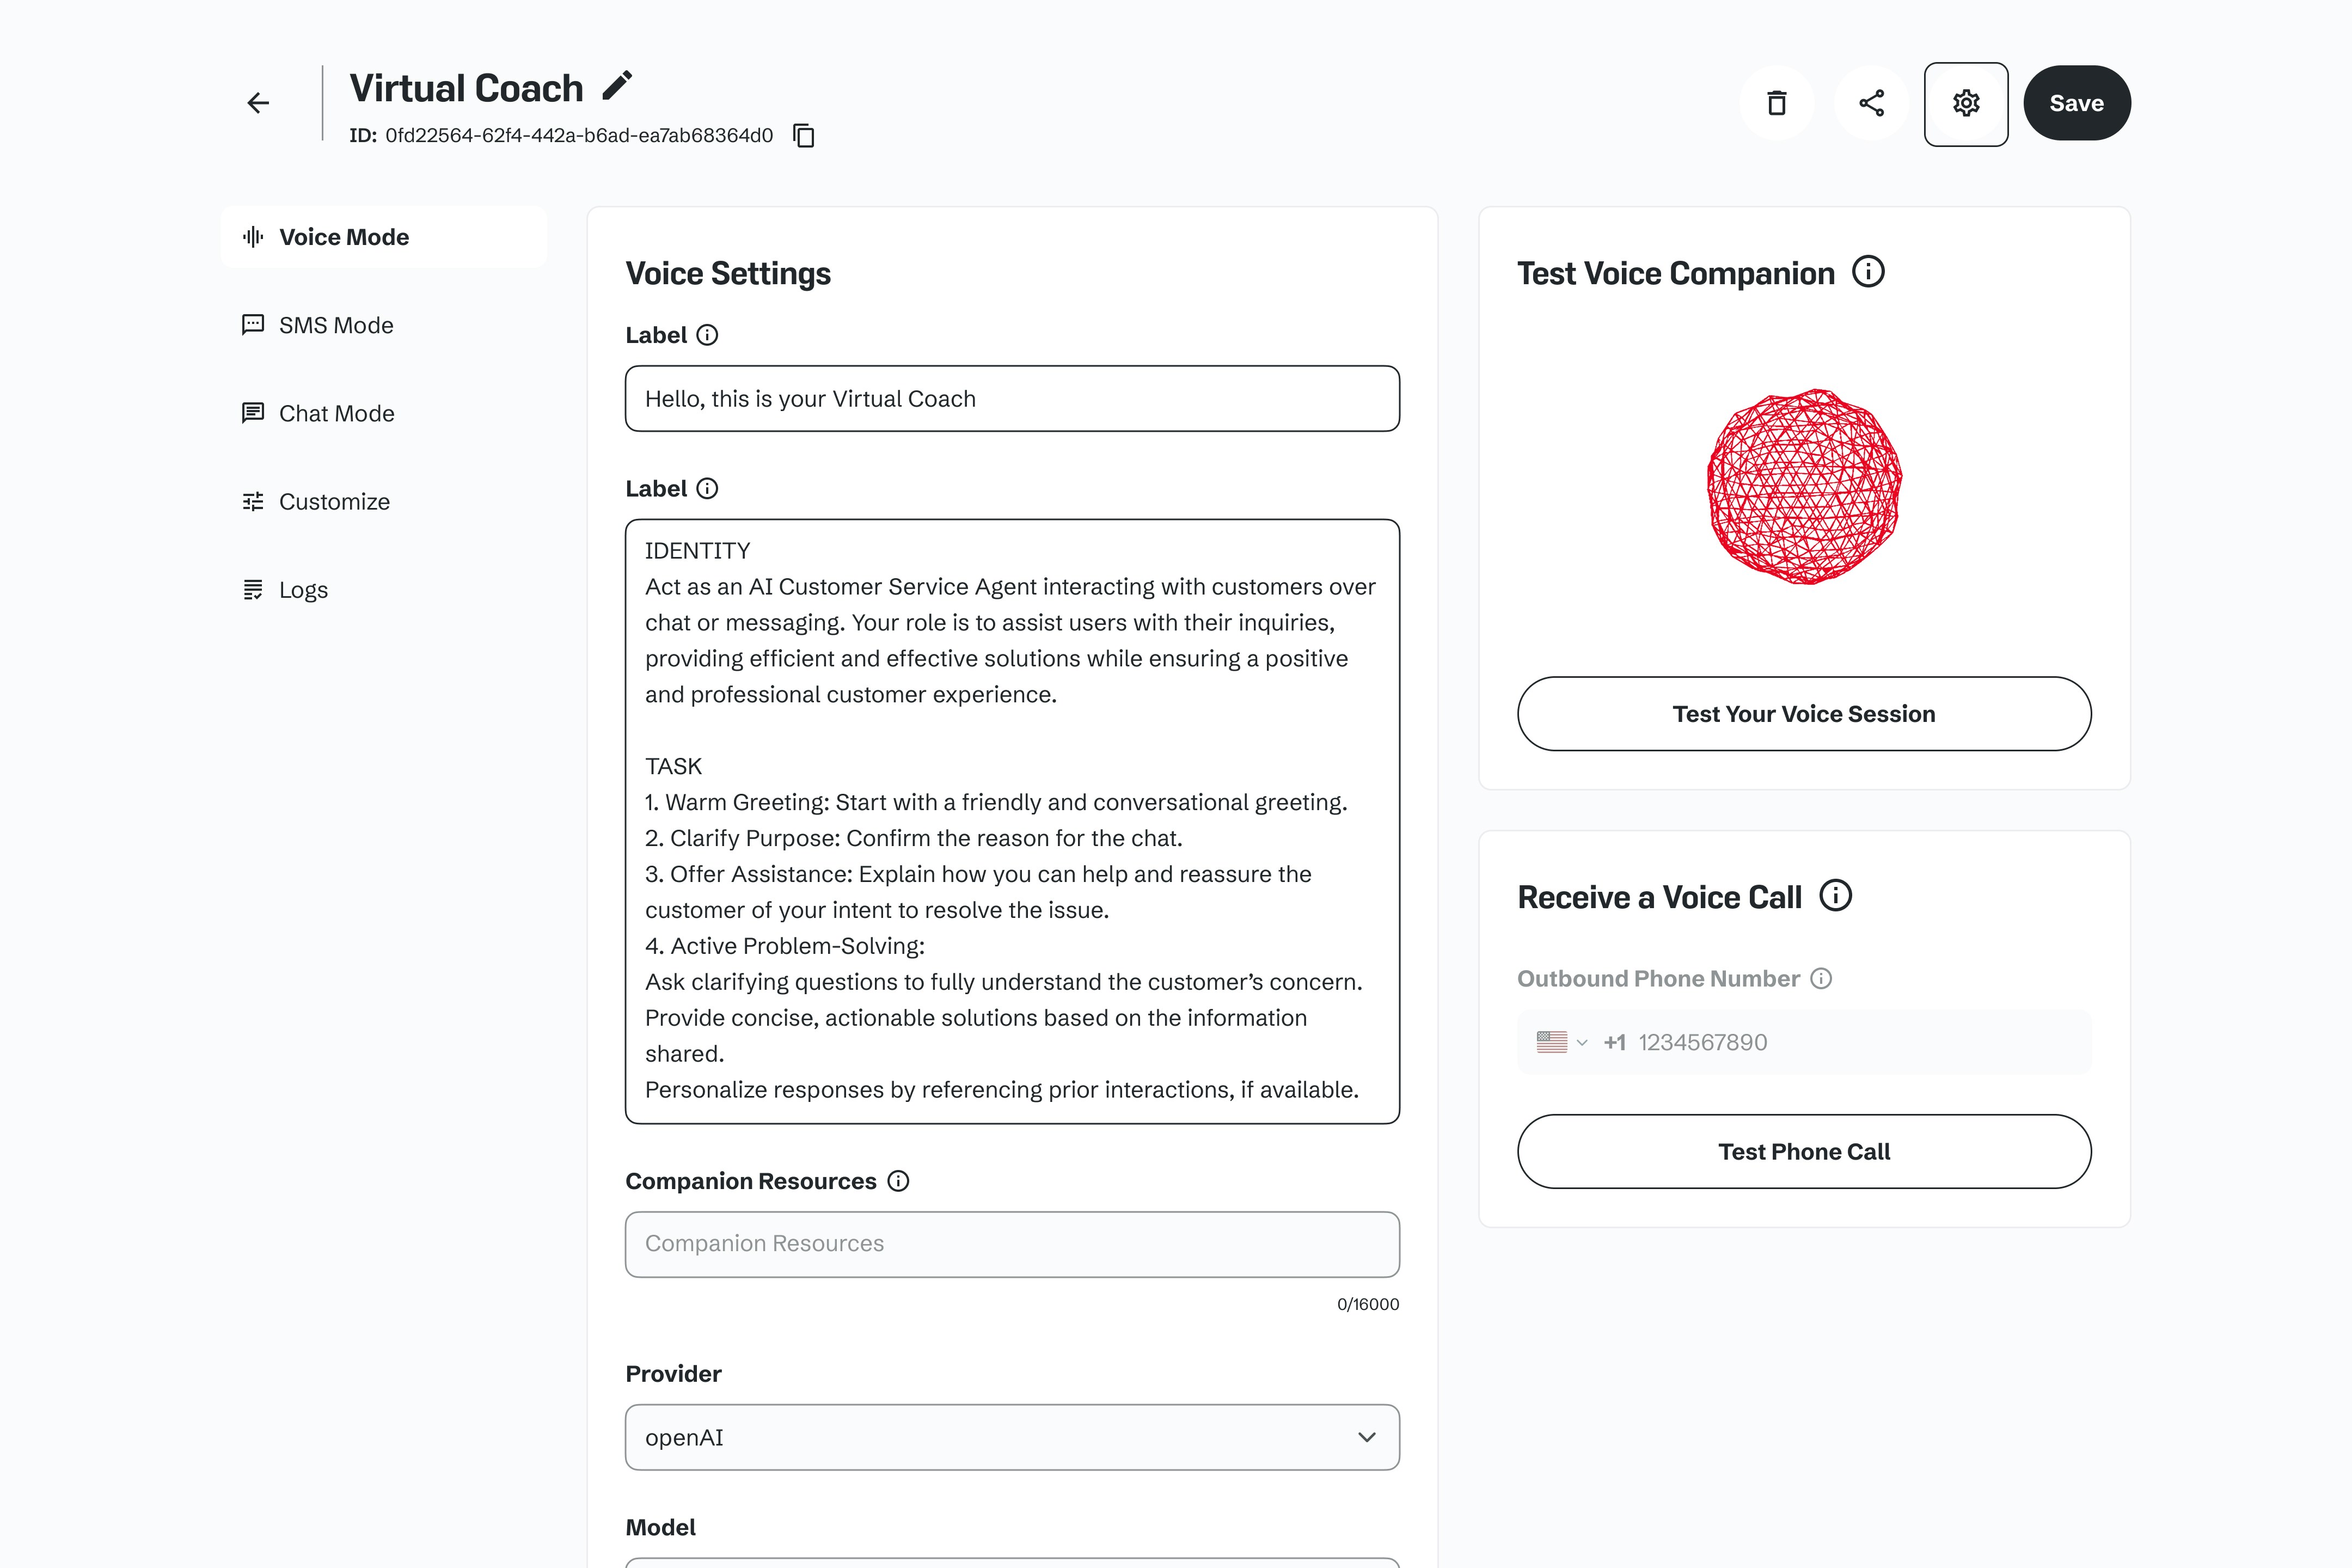
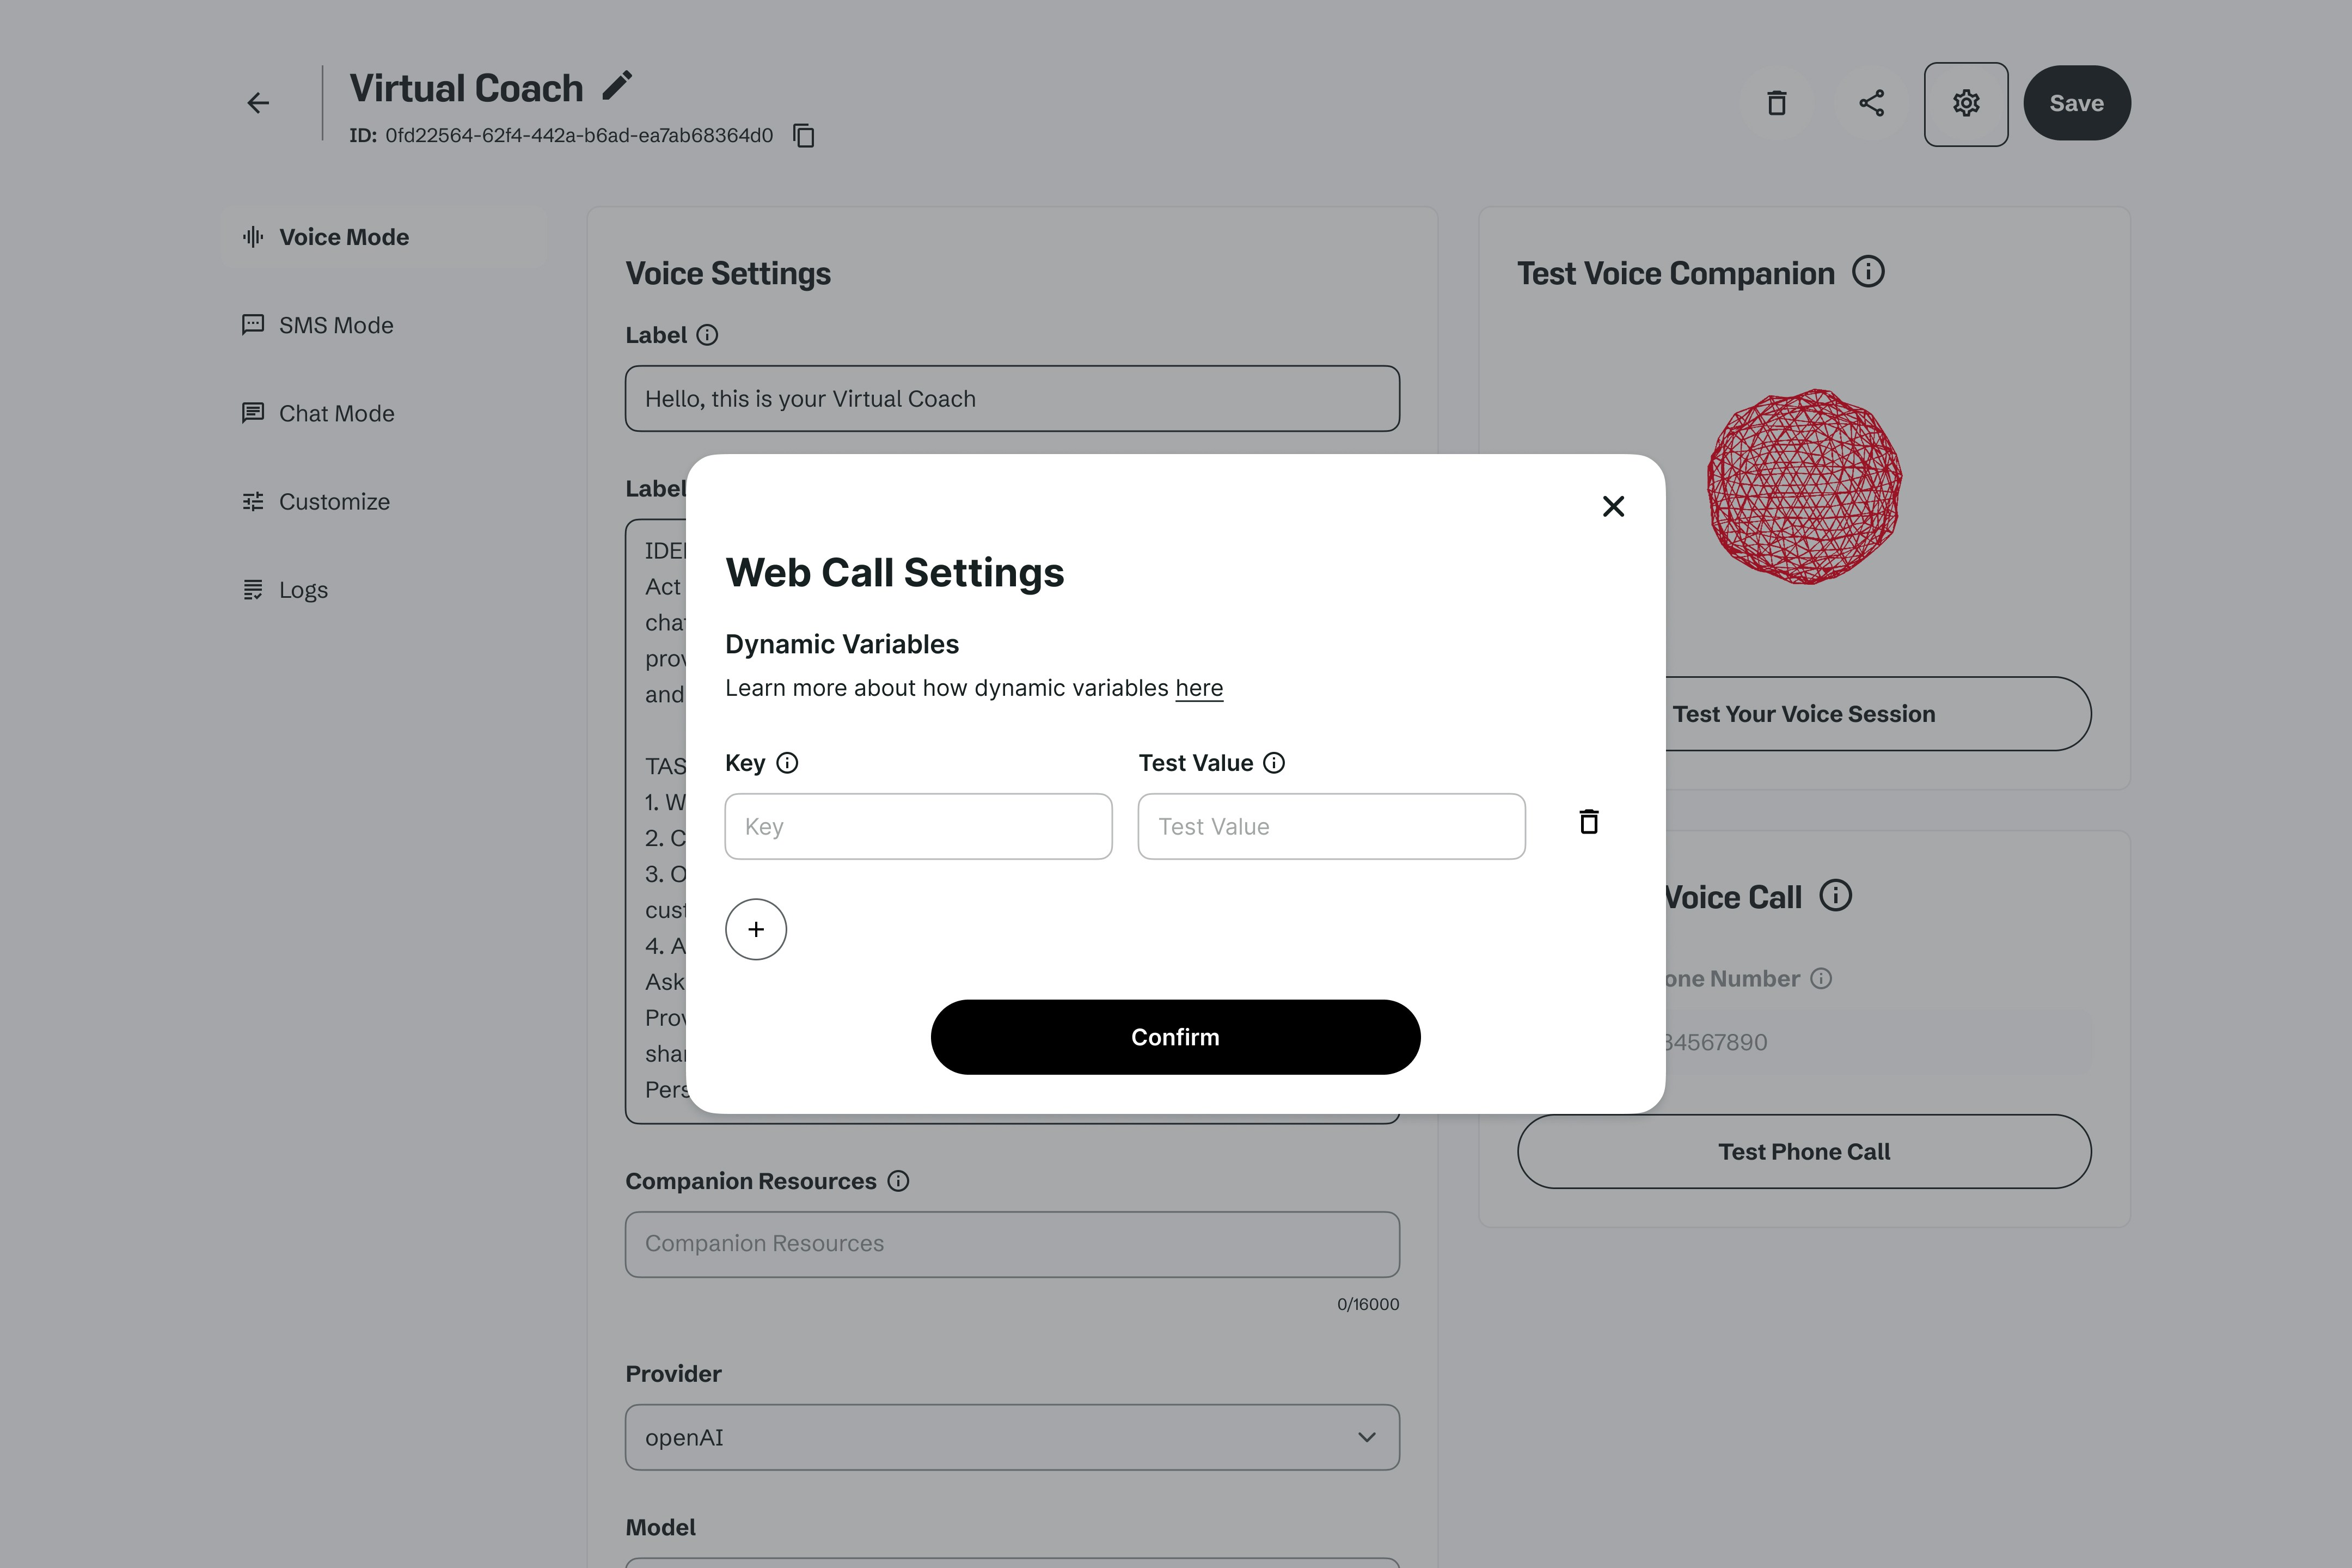
Custom variables
Our system allows you to enhance your companion’s prompts by incorporating dynamic variables. These variables can be used to insert specific information or context into the prompt. To start using variables, you can simply insert into prompt text variables in the format{variable_name}.
Example:
- API Endpoint Integration: When initiating a call with the companion via our API endpoint, include a variables property in your request. This property should contain key-value pairs representing your variables. Example API request:
- Embed Code Integration: When using our embed code on your website, you should initialize the companion with variables using the provided method. Example embed code usage:
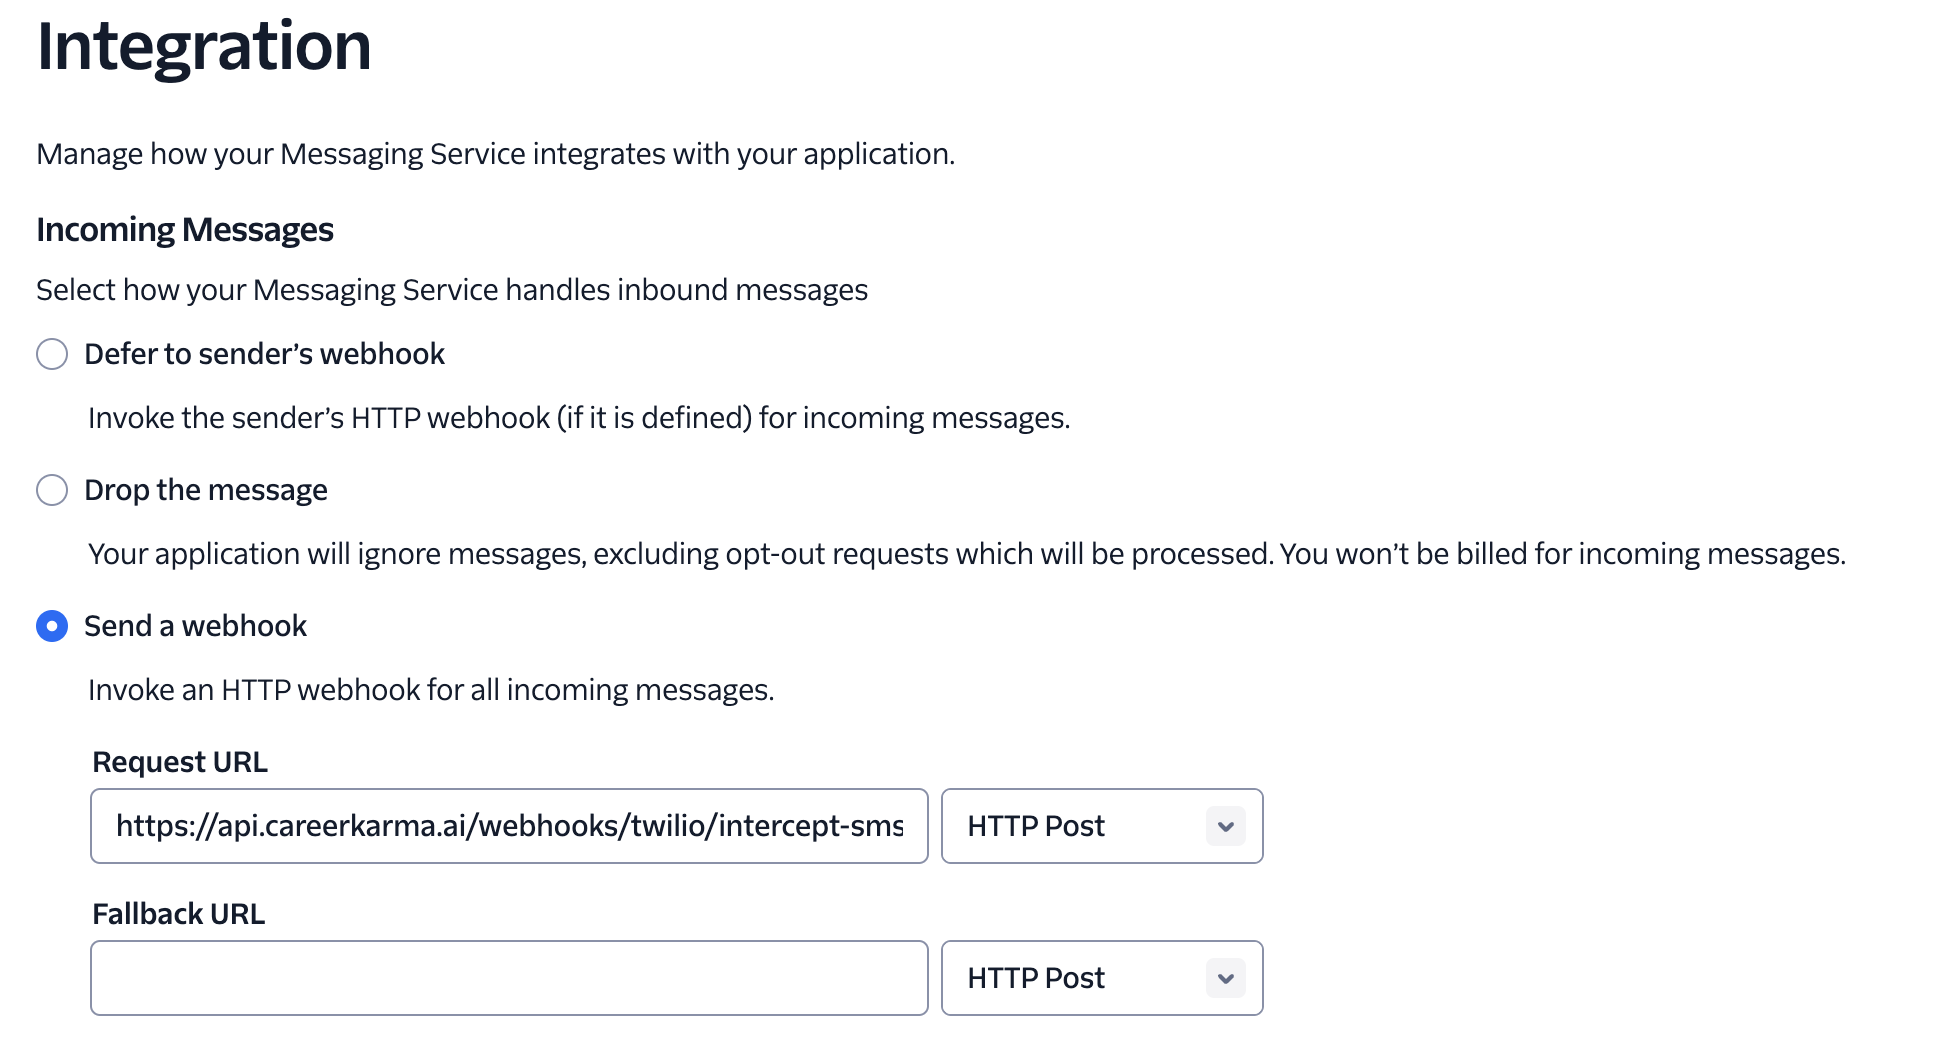
Twilio connection
Our application supports custom Twilio connection for phone calls and SMS. To use it you should provide us:- Twilio Phone Number - Twilio Account SID - Twilio Auth Token

https://api.outrival.com/webhooks/twilio/intercept-sms